Support > Identify > Getting your Sales Team started
Getting your Sales Team started
Got a new salesperson you’d like to get set up with CANDDi?
In this page, we’ll go over how to add these salespeople as new users in CANDDi, and the basic processes they should get familiar with in order to see fast results!
Add your team
First things first, you need to add your team members as CANDDi users.
CANDDi has multiple user levels, allowing you to keep control over what your users can and can’t see. We usually recommend having your salespeople at a ‘salesperson’ level (groundbreaking, I know), with Sales Managers taking an ‘Admin’ role.
This just filters out some of the data more efficiently by giving your salespeople a more restricted view over the CANDDi dashboard. The last thing you want is them filtering through a bunch of noise to get to their prospects. That’s not what CANDDi is about.
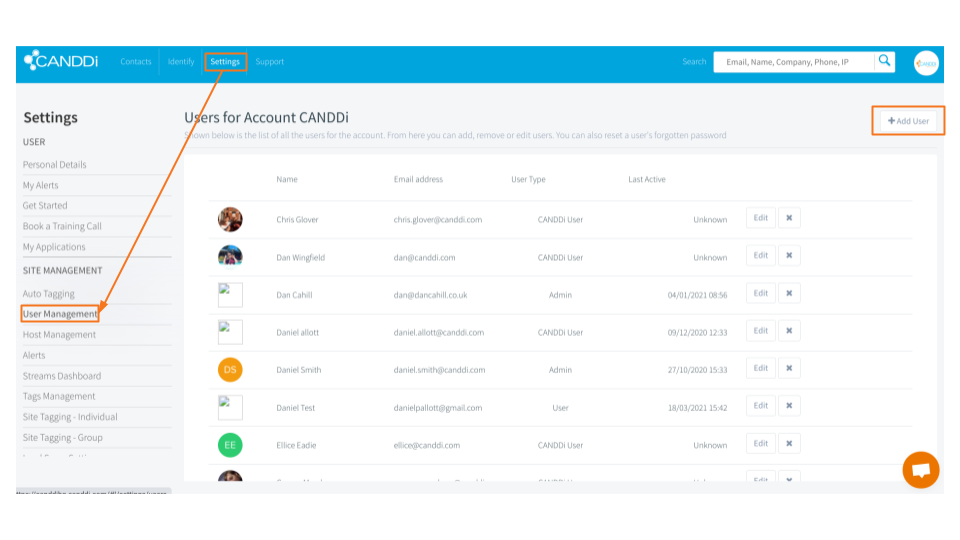
To do this, head over to the ‘Settings’ tab of your CANDDi Dashboard and scroll down to ‘User Management’.
You’ll then notice an ‘Add User’ button on the right side of your screen. Simply add in the details of your user and select their User Type. CANDDi will then provide the relevant access for each user for you.
Install the CANDDi Sales GUI
Next, ensure that your salespeople have installed the CANDDi Sales GUI.
This is a simple google chrome extension that allows CANDDi to help out with day-to-day sales activities across multiple platforms. The Sales GUI will:
- Automatically track one-to-one gmail emails
- Add tracking to LinkedIn messages with the LinkedIn Prospect Tracker
- Allow CANDDi to integrate with your CRM
- Allow salespeople to create a custom tracked email signature
You can install the CANDDi Sales GUI by clicking this link.
Assign to Streams
Streams are a key part of monitoring your website visitors activity across your site. They’re effectively filters that allow you to focus on the prospects that you really want.
They work by using parameters that narrow down your website visitors to a specific type.
They’re a particularly useful sales & marketing function as they’re great for monitoring campaigns and assigning leads to your users.
Depending on who in your sales team is responsible for what, you can set up a Stream for each person and their workload. We have a handy video on how to set up a Stream if you need it.
Their leads will now automatically land in their specific Stream, but to make sure they never miss a beat, you can also set-up real time alerts.
To set-up alerts for each Stream, head to the ‘Contacts’ tab of your Dashboard (this is usually the first page that opens up when you log in) and you’ll see the Streams you’ve created down the left hand side.
Click on the Stream you want, and click on the bell icon that’s located on the right.
This will take you to the ‘Alerts’ page and here you should click on the ‘New Alert’ button.
Choose ‘Email Notification’ from the tabs along the top which will bring you to the following page:
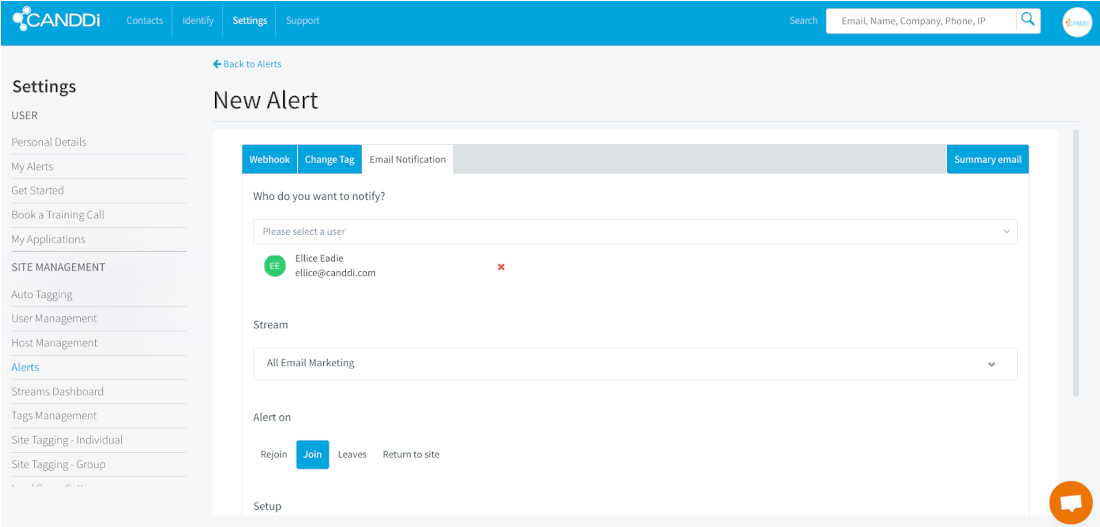
All that’s left to do is fill out the relevant information. You should be notifying the salesperson the Stream is allocated to. You can do this by simply typing in their name and selecting them.
Your chosen Stream should already be selected, but double check just in case!
And then to be notified whenever a new contact has joined the Stream, click the ‘Join’ button under ‘Alert on’. You can change how you’d like the notification to appear under ‘Setup’.
If you’re a bit more analytical and would prefer a summary email for a chosen time period, click ‘Summary email’ on the far right. Your sales team’s email contacts will auto filter into this stream.
Sharing Streams
You can share the Streams your sales team make with either yourself or any of the sales managers that might want to get involved.
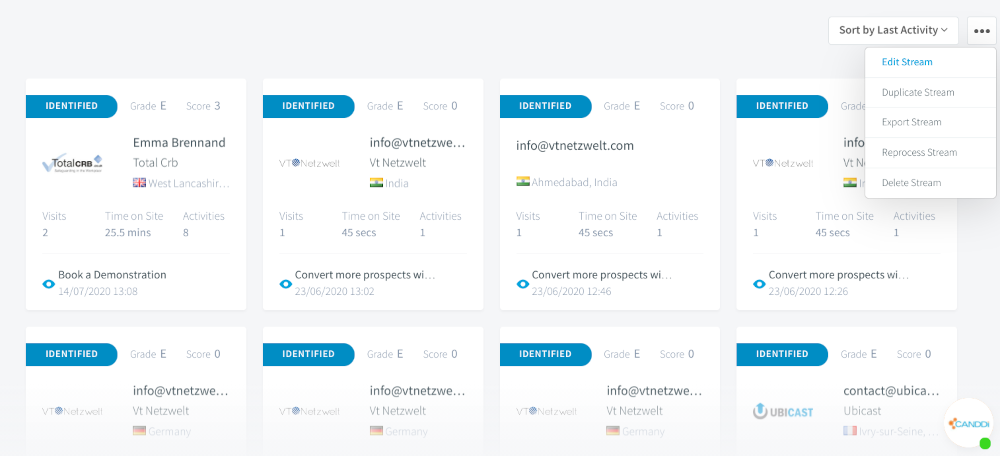
All you have to do is find and click on the Stream you want to share, then navigate to the three little buttons to the right of the screen. Here you can click on ‘Edit stream’ from the drop down.
The next step is to scroll down to the ‘Advanced’ button and click on it. You’ll be able to see an option to ‘Share your stream’ and you can either add in the specific users you want to share the Stream with, or tick the ‘Share with all users and admins’ box to share with everyone.
If you’re sharing with yourself, then obviously you just add yourself.
If your colleagues can’t see the Stream, this is because every Stream you create is unique to your dashboard until you choose to share it with other users on your account. Once you’ve followed the steps above, you should all be able to see your Stream masterpiece.
Managing the data
If you’ve gone a bit overboard with the Stream thing (don’t worry, we’ve all been there) you can group similar Streams together in Groups.
It’s a similar process to sharing Streams, as you click on the stream you want to add to the group and then click on the button with the three little dots towards the right hand side of the screen. Once again you should then click ‘edit stream’.
Once you’ve got the edit screen open, scroll down to the ‘Advanced’ button and click on this.
Here you’ll have the option to add some Stream groups. You can choose from existing groups you might have already created, or just start typing the name of a new group to create a brand new one.
If you have Streams that aren’t part of a Stream Group, it will automatically appear as ‘ungrouped’. This will happen when you have not specified what you want the stream group to be called.
We hope we’ve covered everything off for you! But if there’s anything we’ve missed, or anything else you need help with, just let us know at help@canddi.com