Support > Getting Started > Manually Installing Your Javascript Tracking Code
Manually Installing Your Javascript Tracking Code
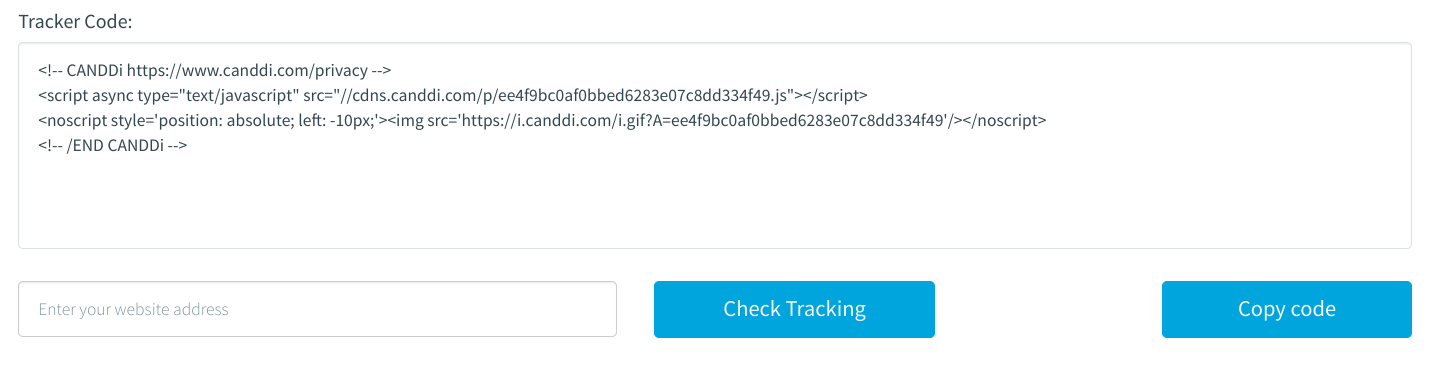
The Javascript Tracker refers to the six lines of Javascript which need to be inserted into every page of your website. CANDDi uses this Javascript to record the data from each visitor.
Our lovely guys over in our Customer Success team will usually set all this up for you, but if you ever need to do it yourself, follow our simple installation steps below:
- Once you’ve registered for your CANDDi account, you should also receive an email containing details about your CANDDi tracking code. This will contain a personalized link (looking something like http://www.canddi.com/tracker/?TID=[YOURCODE])
- If you click this link then you will be taken to your CANDDi dashboard where you will find the six lines of Javascript for you to copy.
- Copy this javascript and add to each page on your website.
- We recommend putting this into the footer of each page (immediately before the closing </body> tag)
You can check your tracking is working by heading back to your CANDDi dashboard and navigating to the ‘Settings’ tab. Then scroll down to the ‘Developers’ section and click on ‘Tracker Code’.
You can then enter your website URLs into the search bar beneath your tracking code to see if it’s working as it should.
If you need more help installing your tracking code, get in touch at help@canddi.com